Insights
Clay Render vs Final Render: What You Approve at Each Stage
Clay Render vs Final Render: What You Approve at Each Stage
Clay Render vs Final Render: What You Approve at Each Stage
The four stages of a Renderlab project – camera, lighting, materials, post – and what to check at each one so the final image lands first time.
The four stages of a Renderlab project – camera, lighting, materials, post – and what to check at each one so the final image lands first time.
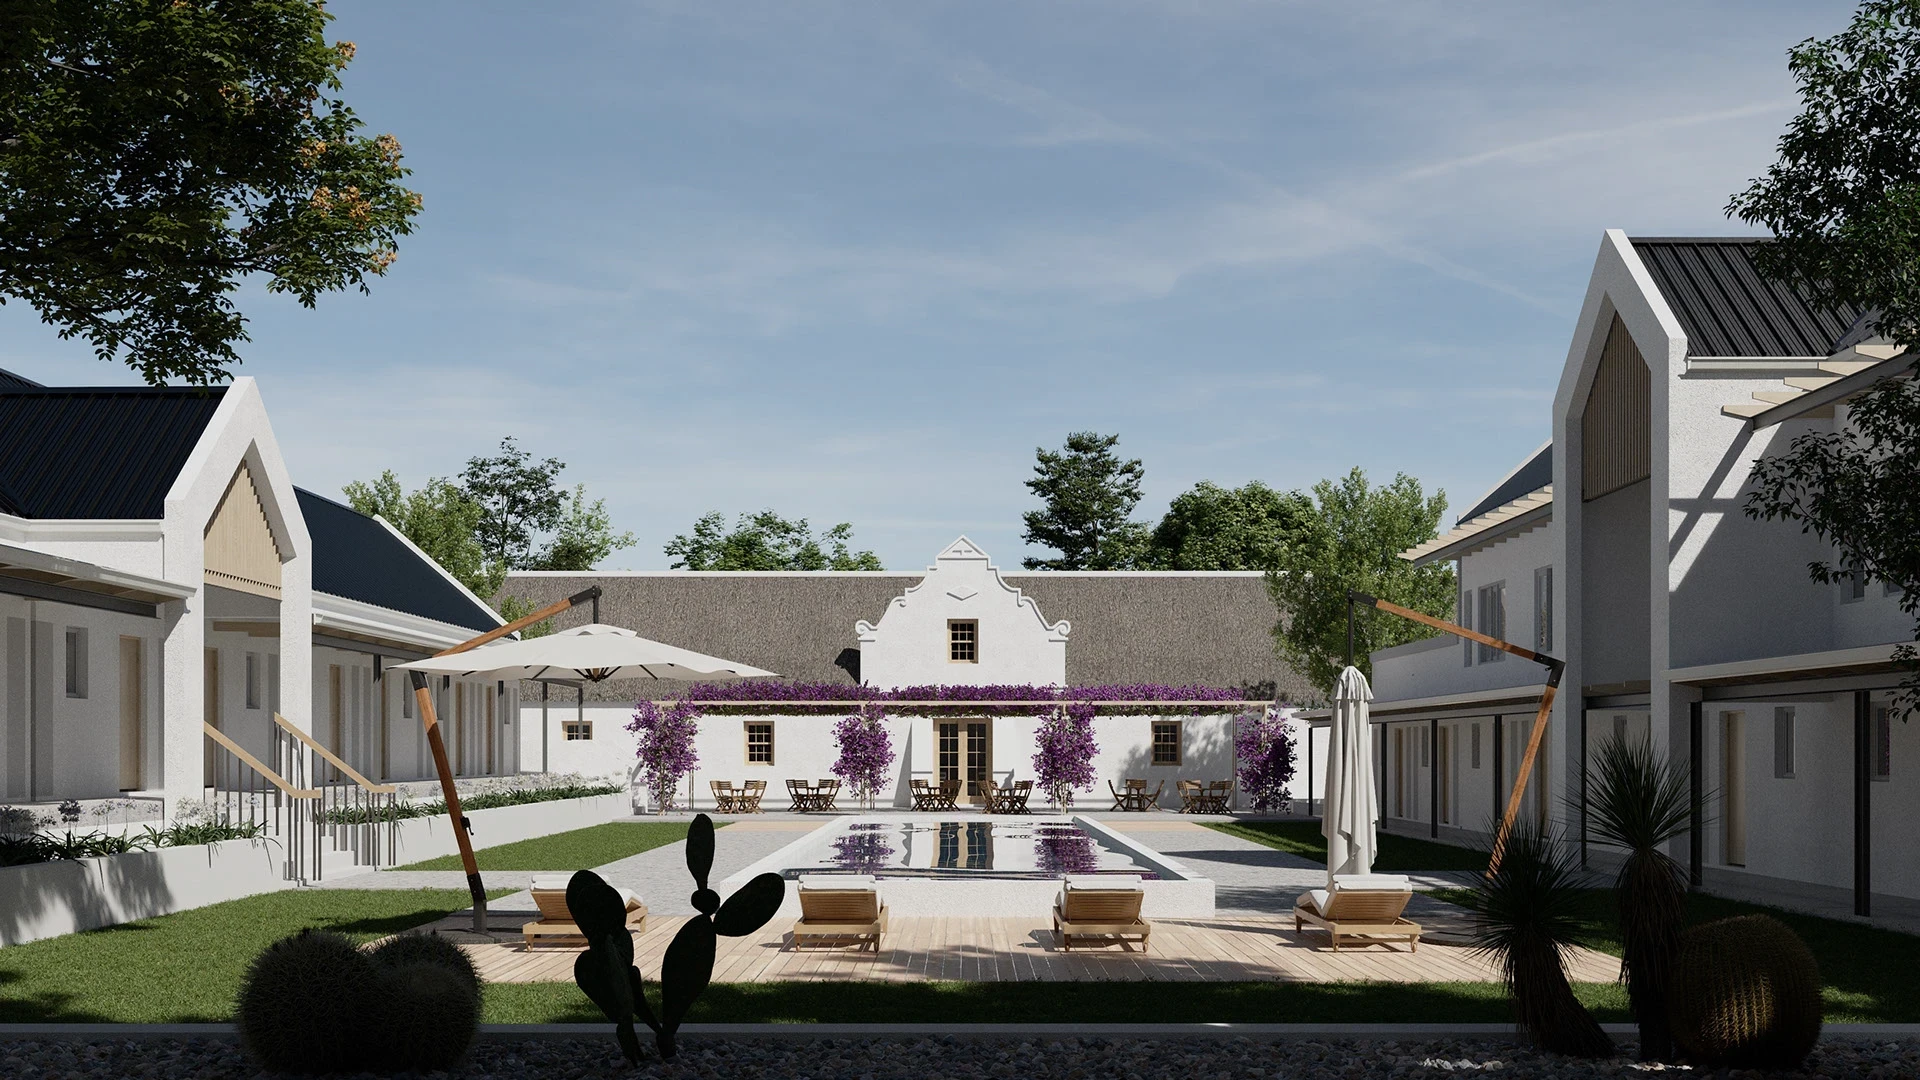
A photorealistic render is not one decision, it is four, made in order. Skip one and you end up re-doing the three that came after it. This is the sequence we run on every project, from a single house to a hospitality estate like De Balke.
Stage 1 – Camera angles (the clay render)
You get greyscale images: no materials, flat lighting, just form and composition. This is the most important approval in the whole process. Check the height of the camera, what is in the frame, how much sky, whether the entrance reads. Once you sign off here, every later stage is built on these exact views – and we don't go back.
Stage 2 – Lighting
Same views, now with the sun set from your site's north point and a time of day. Dusk sells warmth; mid-morning sells clarity. You are checking shadows, the mood, and whether interiors feel lit from the right windows. Materials are still neutral.

Stage 3 – Materials and finishes
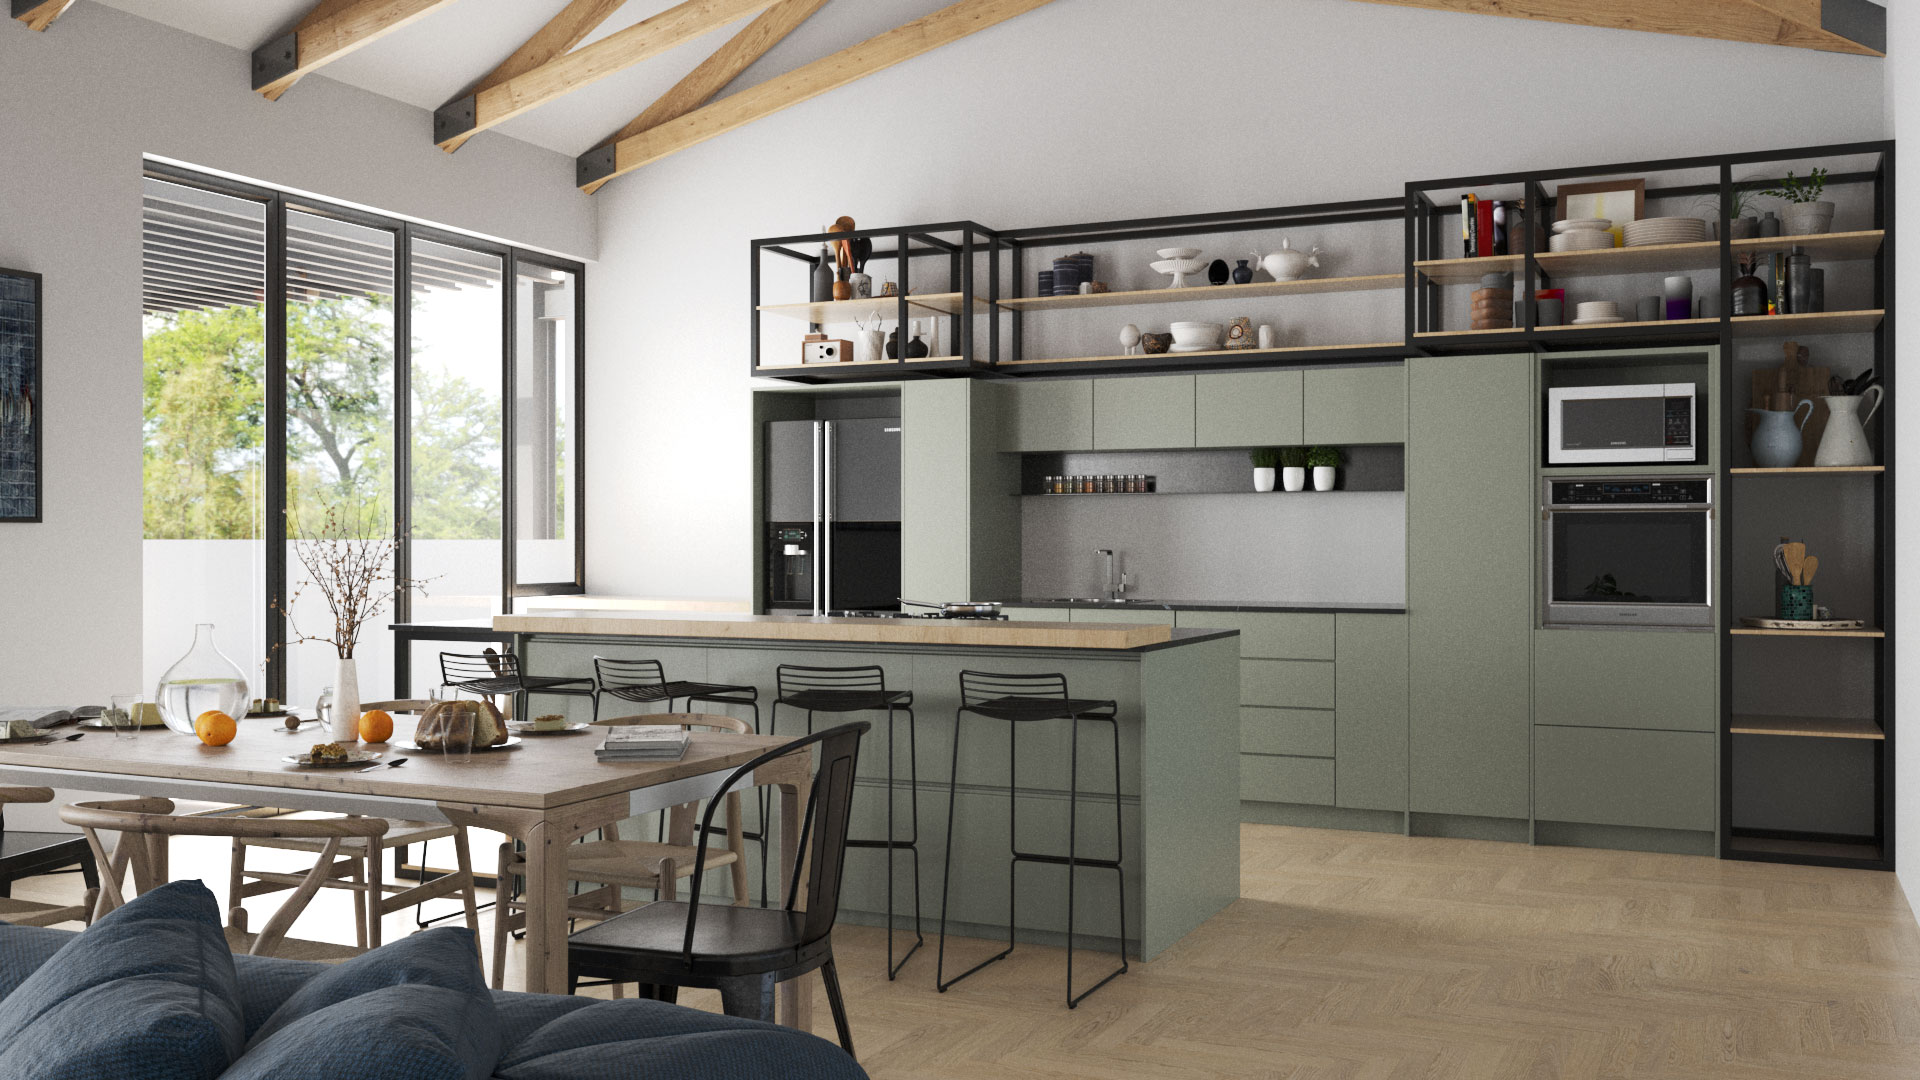
Now the brick, the roof sheet, the aluminium, the floor tile, the joinery colour. This is where supplier codes pay for themselves. You are checking accuracy against the schedule, not the mood – the mood was signed off at stage two.
Stage 4 – Post-production
People, cars, trees, atmosphere, colour grading, final resolution. This is the polish that makes The Aloe look like a photograph rather than a model. Small tweaks here are quick; structural changes are not, which is why stages one to three exist.

Why the order matters
Changing a camera angle after materials are in means re-doing lighting and materials for that view. Changing a material after post means re-rendering the view. Every project has a budget of attention – spend it early, at the clay stage, and the final render lands first time.

Need the stages on your own project?
Send us the plans or browse the finished work. If you are still gathering files, start with what to send your 3D visualiser, and if you want to know what moves the price, read what drives the cost of 3D renders in South Africa.
Latest Blogs

Insights
Clay Render vs Final Render: What You Approve at Each Stage
Clay Render vs Final Render: What You Approve at Each Stage
Clay Render vs Final Render: What You Approve at Each Stage
The four stages of a Renderlab project – camera, lighting, materials, post – and what to check at each one so the final image lands first time.
The four stages of a Renderlab project – camera, lighting, materials, post – and what to check at each one so the final image lands first time.
A photorealistic render is not one decision, it is four, made in order. Skip one and you end up re-doing the three that came after it. This is the sequence we run on every project, from a single house to a hospitality estate like De Balke.
Stage 1 – Camera angles (the clay render)
You get greyscale images: no materials, flat lighting, just form and composition. This is the most important approval in the whole process. Check the height of the camera, what is in the frame, how much sky, whether the entrance reads. Once you sign off here, every later stage is built on these exact views – and we don't go back.
Stage 2 – Lighting
Same views, now with the sun set from your site's north point and a time of day. Dusk sells warmth; mid-morning sells clarity. You are checking shadows, the mood, and whether interiors feel lit from the right windows. Materials are still neutral.
Stage 3 – Materials and finishes
Now the brick, the roof sheet, the aluminium, the floor tile, the joinery colour. This is where supplier codes pay for themselves. You are checking accuracy against the schedule, not the mood – the mood was signed off at stage two.
Stage 4 – Post-production
People, cars, trees, atmosphere, colour grading, final resolution. This is the polish that makes The Aloe look like a photograph rather than a model. Small tweaks here are quick; structural changes are not, which is why stages one to three exist.
Why the order matters
Changing a camera angle after materials are in means re-doing lighting and materials for that view. Changing a material after post means re-rendering the view. Every project has a budget of attention – spend it early, at the clay stage, and the final render lands first time.
Need the stages on your own project?
Send us the plans or browse the finished work. If you are still gathering files, start with what to send your 3D visualiser, and if you want to know what moves the price, read what drives the cost of 3D renders in South Africa.
Latest Blogs
Insights
Clay Render vs Final Render: What You Approve at Each Stage
Clay Render vs Final Render: What You Approve at Each Stage
Clay Render vs Final Render: What You Approve at Each Stage
The four stages of a Renderlab project – camera, lighting, materials, post – and what to check at each one so the final image lands first time.
The four stages of a Renderlab project – camera, lighting, materials, post – and what to check at each one so the final image lands first time.
A photorealistic render is not one decision, it is four, made in order. Skip one and you end up re-doing the three that came after it. This is the sequence we run on every project, from a single house to a hospitality estate like De Balke.
Stage 1 – Camera angles (the clay render)
You get greyscale images: no materials, flat lighting, just form and composition. This is the most important approval in the whole process. Check the height of the camera, what is in the frame, how much sky, whether the entrance reads. Once you sign off here, every later stage is built on these exact views – and we don't go back.
Stage 2 – Lighting
Same views, now with the sun set from your site's north point and a time of day. Dusk sells warmth; mid-morning sells clarity. You are checking shadows, the mood, and whether interiors feel lit from the right windows. Materials are still neutral.
Stage 3 – Materials and finishes
Now the brick, the roof sheet, the aluminium, the floor tile, the joinery colour. This is where supplier codes pay for themselves. You are checking accuracy against the schedule, not the mood – the mood was signed off at stage two.
Stage 4 – Post-production
People, cars, trees, atmosphere, colour grading, final resolution. This is the polish that makes The Aloe look like a photograph rather than a model. Small tweaks here are quick; structural changes are not, which is why stages one to three exist.
Why the order matters
Changing a camera angle after materials are in means re-doing lighting and materials for that view. Changing a material after post means re-rendering the view. Every project has a budget of attention – spend it early, at the clay stage, and the final render lands first time.
Need the stages on your own project?
Send us the plans or browse the finished work. If you are still gathering files, start with what to send your 3D visualiser, and if you want to know what moves the price, read what drives the cost of 3D renders in South Africa.